Volcanoes! They’re so exciting. Any kindergartener will be instantly interested and motivated in studying this natural phenomenon.
I’ve begun a volcano unit with Peanut this week, so I thought I’d share what I have planned so far with you.
Ready for the worksheet? Click here to skip ahead.

First, you have to know that we live surrounded by volcanoes. There are 3 of them easily visible from our house, here in Guatemala, a country home to over 30 volcanoes. So, they are part of the landscape. Peanut enjoys watching volcanic eruptions from our house, whether they are just puffs of smoke and ash or fiery night-time displays.
So, what can you do to study volcanoes?
Make Your Own Volcano
There are a few ways to do this, and it makes a great opener to your unit. You’ll inspire your little one for sure.
The Vinegar and Baking Soda Volcano
We’ve done this one about a million times by now, but when does it get boring? Not yet, apparently! The vinegar and baking soda volcano experiment is tried and true, and I’m sure Peanut will enjoy doing this one yet again.
What you need: dirt, small bottle, vinegar, baking soda, funnel
You can do this either outside in the garden or in an old cake pan. Red dye for the vinegar is optional.
What to do: All you need to do is build a volcano around your bottle. It’s best if the dirt is moist. Let your little one really get their hands dirty, and have them build up the cone of the volcano. Then, use the funnel to pour about a tablespoon of baking soda into the bottle. Then, pour vinegar into the bottle until the eruption happens! Allow your little one to participate as much as possible.
The Wax Volcano
I’ve done this one with elementary students and Peanut, and I must say, it’s quite impressive! This was our unit opener today. Here’s the down low:
What you need: a heat-proof glass jar, wax (ideally red, can be from an old candle), sand, water, a candle, a spoon. Notice our sand is volcanic! Very appropriate, but it does make the water a bit cloudy.

What to do: Place some wax shavings or pieces in the bottom of the jar. You’ll need at least about a tablespoon’s worth. Cover it with sand. Add water to almost the rim of the jar. Then, heat the bottom of the jar using a lit candle. Make sure that you or another responsible adult is helping with this one, holding the jar and candle.


Soon, the wax will begin to boil and “erupt” through the surface of the dirt, creating a pretty authentic replication of what happens with a volcano in real life. Cool! Don’t be taken aback by the bubbling…it makes me kind of nervous every time, but it’s really ok. It will soon burst up through the sand. Our sand was dark, so it made the water a bit cloudy, but, trust me, it was very impressive in person. Peanut wants to do it again now!
Find Volcanoes Around the World
Check out a volcano map! Then you can cut out small felt volcanos and place them on your own continents map. We use a felt map for studying continents anyway, so it’s an easy activity to do.
Then, learn about some of the world’s most active volcanoes. This site shows a great map and then offers information on some of the World’s most famous volcanoes such as Mount Fuji, Mount Vesuvius, and others. I think Peanut and I will explore some of these volcanoes and compare them to the ones we can see at home.
Older students in elementary grades may even be up for this activity from PBS.
The Parts of a Volcano (Free Worksheet!)
Volcanoes have different parts. Imagine slicing one in half and seeing what’s inside. This way, you can see the many parts volcanoes have.
Peanut has really been interested in cutting lately, so I thought this worksheet including cutting out labels would be perfect for him. I made this for my 3-6 students a few years ago and it was a hit.
First, show the control sheet (The Parts of a Volcano Example file). To prepare, you should color this one in nicely. Place it on cardstock or laminate it so that it will last longer. Talk through the parts with your child. Then, show them their worksheet (The Parts of a Volcano file). Have them color the volcano. Then, they need to cut out each of the words on the right-hand side and paste them into the correct boxes on the left. Help your child with any reading as necessary. Here are the files:
The Parts of a Volcano_By Volcano Mama

The Parts of a Volcano Example_By Volcano Mama

Volcanic Rock Study
We’re lucky enough to find pumice in our backyard! I want to work with Peanut on identifying this type of rock. We’ll go on a rock hunt using our magnifying glass, a shovel and a bucket and see if we can find some pumice.
I’m also planning on making some pumice fact cards to read with Peanut. Luckily, we also have some pretty great book resources about rocks which include a few pages on volcanoes and volcanic rock.

What if you can’t find pumice in your backyard? You can get your hands on some pretty exciting rock and mineral kits online. Most rock kits include a sample of pumice that you can examine. Then, you can use the kit later on for a rock study. What’s not to like?
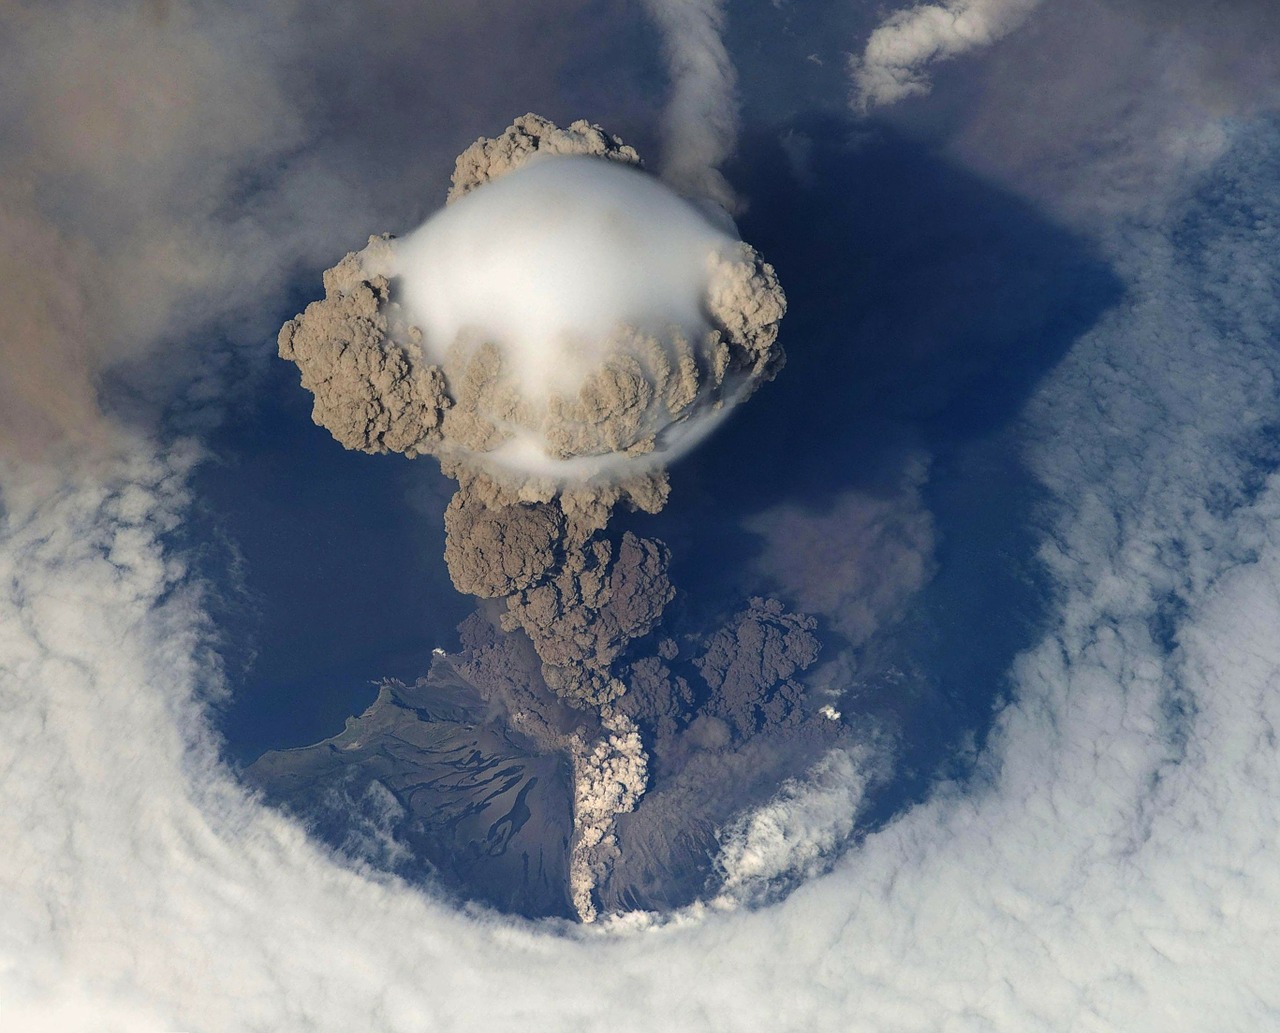
Writing About Volcano Pictures
Finally, I’m going to print out the following images for Peanut. I’ll help him write out his own story or description of what he sees. He can either trace my letters or copy what I’ve written. Once we’re done, I’ll put all of it together into his own Volcano Book.


Pretty exciting, huh? Now, you tell me about your favorite volcano activities!

One thought on “All About Volcanoes – A Kindergarten Unit {FREE PARTS OF A VOLCANO WORKSHEET}”